Mouse lungs segmentation
3D U-Net model for the segmentation of the lungs in mice CT scans.
We provide a neural network model for segmenting the lungs of the mice. The model is based on the U-Net architecture.

The goal of our tool is to provid a reliable way to segment the lungs in mouse CT scans. The U-net model produces a binary mask representing the segmentation of the lungs.
Try the model
Installation
We recommend performing the installation in a clean Python environment.
The code requires python>=3.9, as well as pytorch>=2.0. Please install Pytorch first and separately following the instructions for your platform on pytorch.org.
Install unet_lungs_segmentation using pip after you've installed Pytorch:
pip install unet_lungs_segmentation
or clone the repository and install with:
git clone https://github.com/qchapp/lungs-segmentation.git
pip install -e .
Models
The model weights (~1 GB) will be automatically downloaded from Hugging Face.
Usage in Napari
Napari is a multi-dimensional image viewer for python. To use our model in Napari, start the viewer with
napari
To open an image, use File > Open files or drag-and-drop an image into the viewer window. If you want to open medical image formats such as NIFTI directly, consider installing the napari-medical-image-formats plugin.
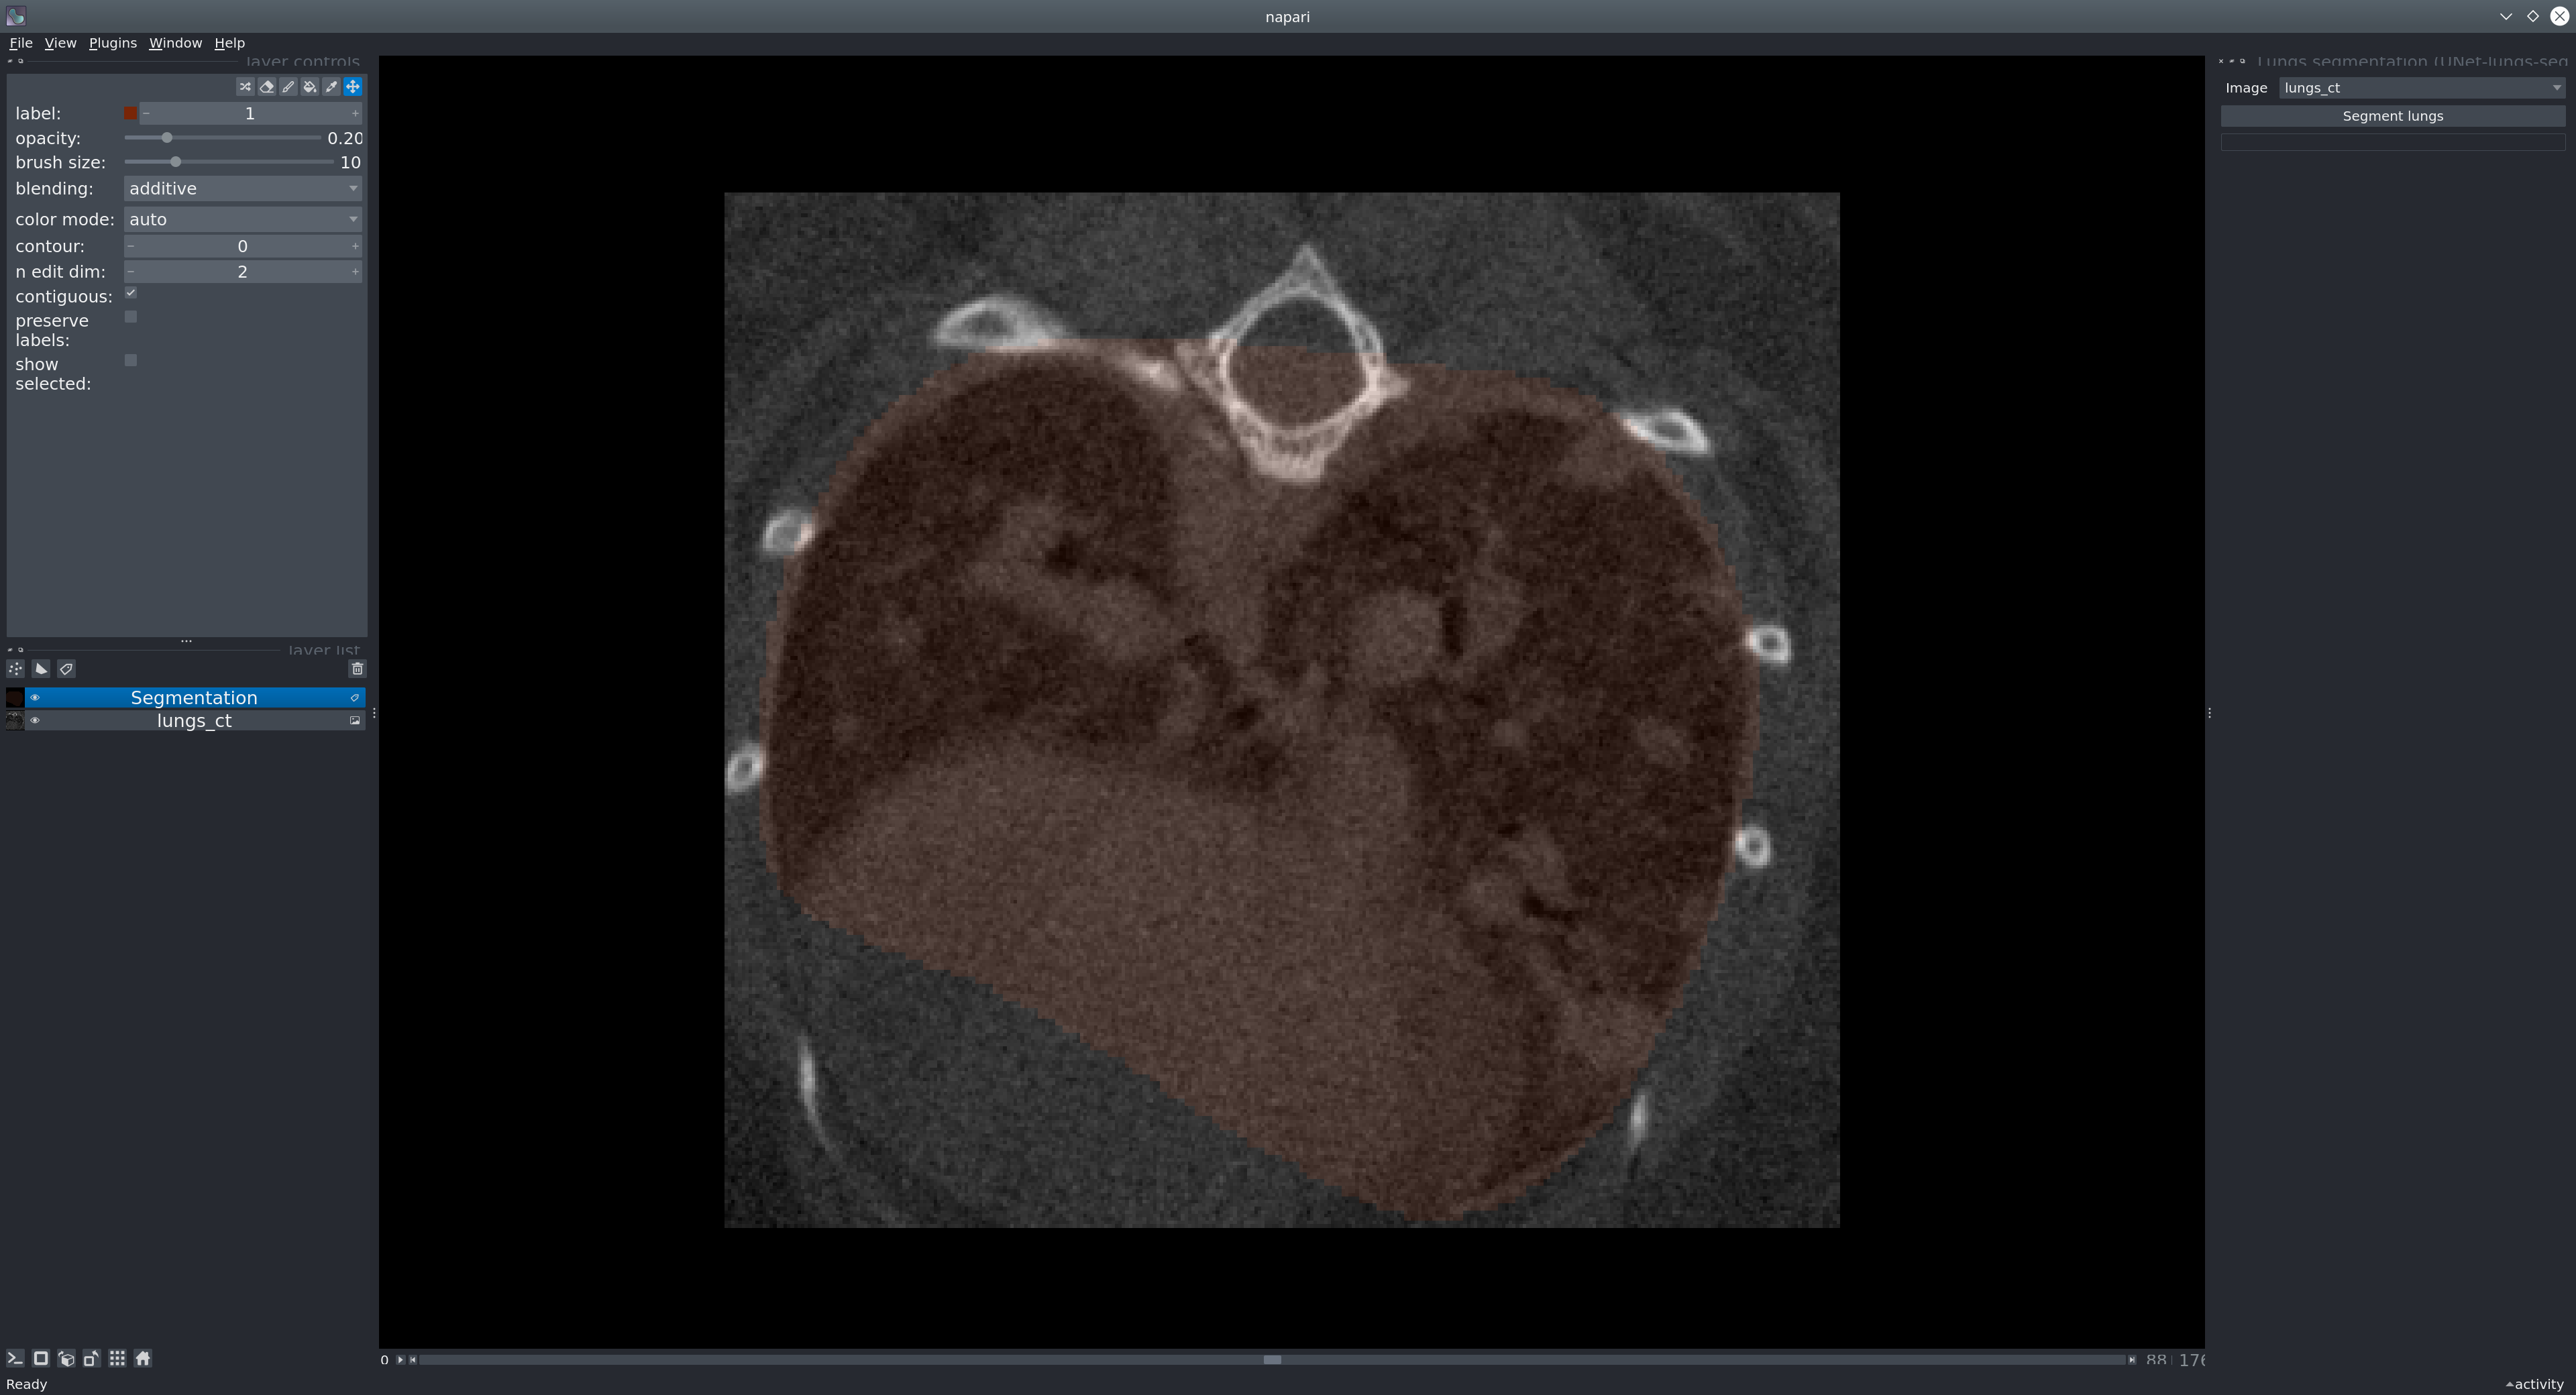
Sample data: To test the model, you can run it on our provided sample image. In Napari, open the image from File > Open Sample > Mouse lung CT scan.
Next, in the menu bar select Plugins > Lungs segmentation (unet_lungs_segmentation). Select an image and run it by pressing the "Segment lungs" button.
Usage as a library
You can run a model in just a few lines of code to produce a segmentation mask from an image (represented as a numpy array).
from unet_lungs_segmentation import LungsPredict

lungs_predict = LungsPredict()
mask = lungs_predict.segment_lungs(your_image)
or if you want to apply a specific threshold (float between 0 and 1):
mask = lungs_predict.segment_lungs(your_image, threshold)
Usage as a CLI
Run inference on an image from the command-line. For example:
uls_predict_image -i /path/to/folder/image_001.tif [-t <threshold>]
The <threshold> will be applied to the predicted image in order to have a binary mask. A default threshold of 0.5 will be applied if none is given. Should be a float between 0 and 1.
The command will save the segmentation next to the image:
folder/
    ├── image_001.tif
    ├── image_001_mask.tif
Run inference in batch on all images in a folder:
uls_predict_folder -i /path/to/folder/ [-t <threshold>]
Will produce:
folder/
    ├── image_001.tif
    ├── image_001_mask.tif
    ├── image_002.tif
    ├── image_002_mask.tif
Dataset
Our model was trained using a dataset of 355 images coming from 17 different experiments, 2 different scanners and validated on 62 images.
Issues
If you encounter any problems, please fill an issue along with a detailed description.
License
This model is licensed under the BSD-3 license.
Carbon footprint of this project
As per the online tool Green algorithms, the footprint of training this model was estimated to be around 584 g CO2e.
Version:
- 1.0.9
Last updated:
- 2025-03-28
First released:
- 2025-03-25
License:
- BSD-3-Clause
Supported data:
- Information not submitted
Plugin type:
Open extension:
Save extension:
Operating system:
- Information not submitted
Requirements:
- magicgui
- qtpy
- napari[all]>=0.4.16
- napari-label-focus
- tifffile
- scikit-image
- matplotlib
- csbdeep
- python-dotenv
- huggingface-hub
- tox; extra == "testing"
- pytest; extra == "testing"
- pytest-cov; extra == "testing"
- pytest-qt; extra == "testing"
- napari; extra == "testing"
- pyqt5; extra == "testing"